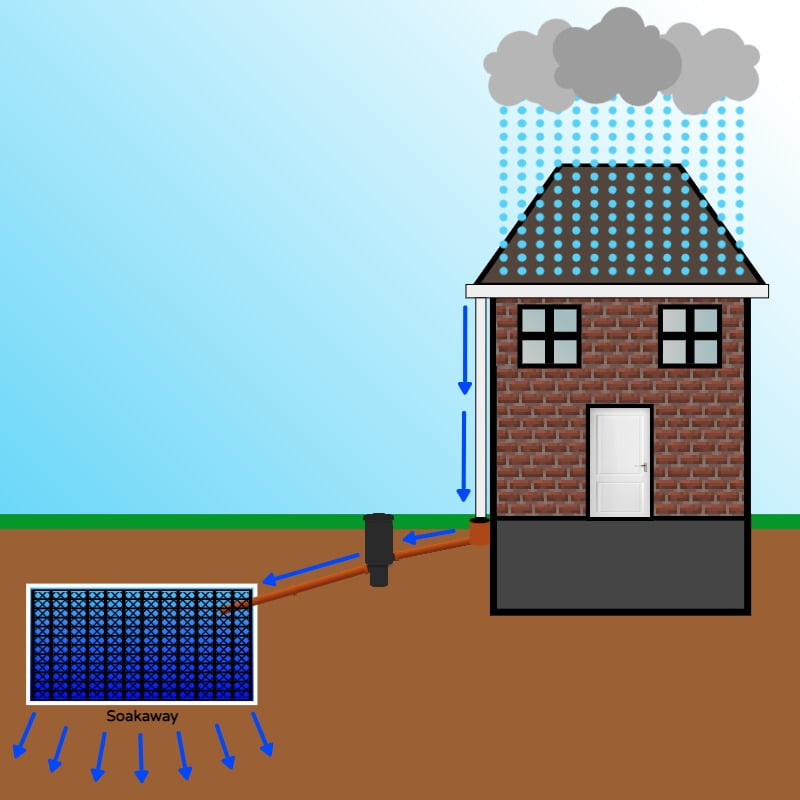
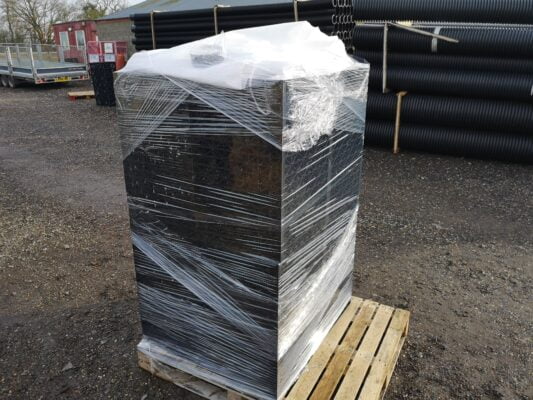
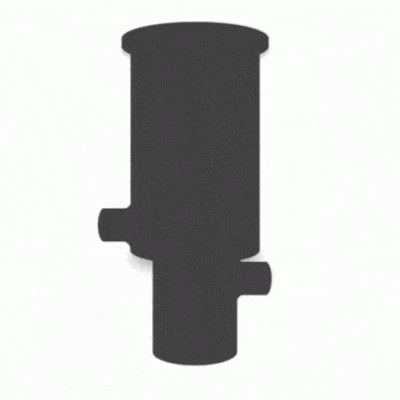
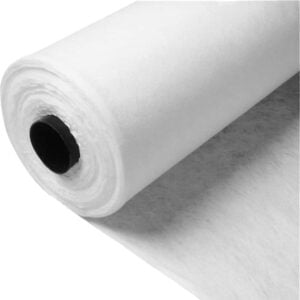
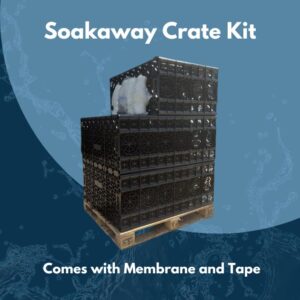
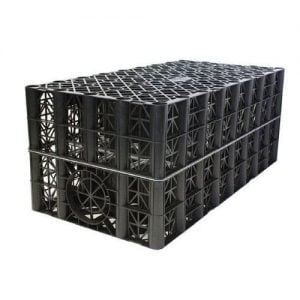
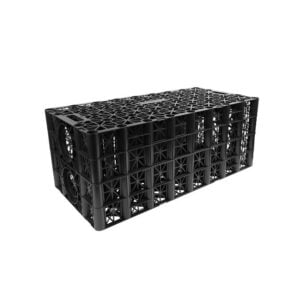
A soakaway drain serves primarily to manage and eliminate standing surface water, particularly rainwater. Typically, this involves digging a large pit or hole where water from drainage channels or gutters flows into. The water then seeps slowly into the surrounding soil, reducing the risk of flooding and improving soil stability while eliminating stagnant water. These days, soakaway crates are the preferred choice for constructing soakaways. In the past, builders would often just fill the hole with rubble and waste material. However, this approach isn't very efficient since water can only occupy the tiny gaps between rocks and stones, which quickly get clogged with silt and debris over time. Soakaway crates, on the other hand, are engineered to be strong yet lightweight, offering a high void ratio—typically around 95%. This means that 95% of the space within the soakaway remains available for water storage, making them far more efficient and durable. To explore various soakaway crate options, check out this link. Here's an illustration showing a typical soakaway drain setup using crates. As you can see, rainwater runs off the roof, collects in gutters, flows down the downspout, and enters the underground drainage system through a gully. It then passes through a silt trap that captures debris before clean water enters the crate system and gradually infiltrates the surrounding ground. Before planning your soakaway system, it's crucial to conduct a percolation test. Certain ground conditions, such as heavy clay or areas with a high water table, may not be suitable for a soakaway. You can either hire a professional to perform this test or follow our guide to do it yourself. Installing a soakaway in unsuitable ground could result in wasted time and money if the soil is too dense or lacks sufficient porosity to allow water to drain effectively. Therefore, this test is absolutely essential. To determine the size of a soakaway drain needed, you'll need to calculate based on the roof pitch and roof area. For more information on how to perform this calculation, refer to the products section on our soakaway crates page. This will help you estimate the volume of water you need to handle. Obviously, be cautious about avoiding underground utilities like pipework and cables. Cutting through these can be extremely dangerous and costly to fix. Soakaway drain systems should be installed at least five meters away from any property, road, or boundary wall. If the ground slopes significantly away from the property, the distance may need to be greater. Additionally, if the soakaway is part of a new build or extension, it must be included on the building plans. Start by marking the excavation area with spray paint or similar markers. Also, mark where the trench for the inlet pipe will be dug. Once marked, carefully excavate the area, leaving enough room for a 150mm base, sides, and backfill with 10mm pea shingle. If the soakaway is to be installed in areas with heavy traffic or higher load requirements, it should be placed at a deeper depth to provide more top cover. While excavating, remove any rocks, debris, tree roots, or other obstacles before adding pea shingle to the base. This ensures the soakaway remains level and prevents damage to the crates. It's important to wrap the crates completely in a non woven geotextile membrane, such as our Lotrak 100 product. This prevents silt and debris from entering the system and clogging it up. After excavating the hole, add the pea shingle base and lay the geotextile in the hole. Place the crates over the top and wrap the geotextile around the crates and the inlet pipe. Ensure the geotextile is securely taped to prevent it from unwrapping. Properly wrapping the crates will maintain their efficiency and ensure they function throughout their lifespan. As mentioned earlier, the primary concern when installing a soakaway drain is preventing the system from getting clogged with debris, silt, and dirt. One way to reduce this risk is to include a silt trap along the pipe run before it enters the soakaway system. The silt trap allows heavier debris to settle at the bottom of the trap, ensuring only clean water passes into the system. The trap has a removable lid, allowing periodic emptying of the silt bucket inside. This will keep the system clear and extend its lifespan. The simplest way to install the inlet drainage pipe is often to lay it over the top of the soakaway tank and wrap it well in geotextile membrane. Some crates come with pre-marked cutouts that can be removed with a hole saw to allow the pipe to enter from the side. Sometimes it’s a perforated cutout that just needs to be pushed out. If you're entering the pipe from the side, mark this on the geotextile so you can easily locate it later. Ensure that other entry points face inward if you're working with multiple crates. In some cases, the inlet pipe can simply be pushed up against the side of the crate. In this case, make sure the pipe is well wrapped in geotextile to prevent anything from entering the system. Once the system is in place, the inlet pipe is installed, and everything is wrapped in geotextile, add your side and backfill. Typically, we recommend 10mm or 20mm pea shingle for this. This helps keep the crates stable and secure while also allowing water to soak out of the soakaway drain. After covering the sides, back, and top with 150mm of pea shingle, you can add the topsoil—usually a minimum of 400mm. If there will be significant traffic over the system, you may need to add more topsoil and provide additional cover to increase its strength and load-bearing capacity. Want to see us install some crates? Check out our video! It depends on where the system is to be installed! For residential settings, our geocell crates are the most popular choice due to their cost-effectiveness. We offer them in kits perfect for garden drainage or for use with extensions, etc. If the crates are to be installed under roads or parking lots, you might want to opt for crates with higher load resistance, such as the Brett Martin Stormcrate 55’s. If you know the required size of the soakaway or the volume of water you need to hold, give us a call, and we can help you choose the right crates and quantities. We stock plenty of these items, and our knowledgeable team will be happy to assist you. Author Bio Nathan has been in the drainage and plastics industry for over 12 years. Having worked for both builders' merchants and major manufacturers, Nathan has accumulated extensive industry and product knowledge. At EasyMerchant, Nathan is dedicated to making tradespeople's lives easier.  Terram T1000 Non Woven Geotextile Membrane – Custom Size Soakaway Crate Kits Polystorm – Includes Geotextile and Tape! Waterproof Tape for Geotextile Membrane 50m X 50mm Polypipe Polystorm Soakaway Crate / Attenuation Cell – PSM1A Hydrocell Soakaway Crate 62 Ton Silt Trap 320mm Including Bucket and Lid Fan Light,Ceiling Fan Light,Led Ceiling Lamp Light,Led Ceiling Fan JIANGMEN MOSCOT OPTOELECTRONIC TECHNOLOGY CO.,LTD. , https://www.sensorsled.comWhat is a soakaway drain?
Considering a soakaway drain? You need to do this first:
A percolation test.
A roof pitch calculation.

Check for buried pipes, cables or other dangers.
Planning permission and regulations.
Preparing for installation.
Installation Considerations
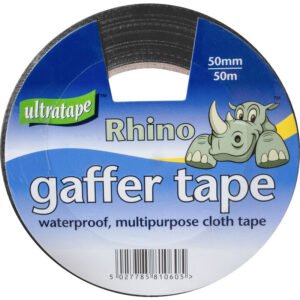
Make sure the crates are thoroughly wrapped in a non woven geotextile membrane.
Fit a silt trap.
Side and back fill.
Installation video:
Which systems do you recommend?
Nathan Wilde
Shop Soakaway Crates
Fan Light
Are you thinking of installing a soakaway drain? Top tips and advice.
Sale!
(82)
From £15.54 Excl. VAT
Select options
(28)
From £228.03 Excl. VAT
Select options
(8)
£5.60 Excl. VAT
Add to basket
(7)
£35.83 Excl. VAT
Add to basket
(1)
£31.67 Excl. VAT
Add to basket
Out of stock
(1)
£281.77 Excl. VAT
Read more